|
|
Post by offtrail on Jan 7, 2017 21:19:28 GMT -7
Here's the idea...We all make fire starters for starting fires...right? Well what about making a fire starter that burns on it's own for a long enough time to warm the hands and also the body to some degree. I'm thinking an empty toilet paper roll filled with what ever you can think of...for a long hot burn. No material on the outside of the roll...just the inside. Also you have to record the burn time and give opinion on how hot the fire was. My thinking is...what if you didn't have time to build a fire or no trees in sight for fuel...this could come in handy for a quick warm up. might even be enough to warm up a cup of tea. Tell you what, you can make one wrap of your choice of tape around the roll and ends to seal it shut so it doesn't bust open. That's it...the person with the longest burn time wins. The burn has to be outside but you can use any type of natural shelter...tree, rock, hillside to block the wind but no buildings.
Standard toilet paper roll.
Allowed one wrap of tape on outside.
Stuff or stack any material you like, just as long as it fits inside the roll.
That's it...the object is to get a hot fire and a long burning fire from just one roll. Make sure you time it so we know who the winner is. Hope you all will join in the fun, extra points for making a video or photos and be honest. Make and test as many as you like but only one entry allowed, we can decide on a time and date to end this contest...who's up for the challenge...might even win a prize...no not a car or a trip around the world but something fun.
|
|
|
|
Post by missasip on Jan 8, 2017 8:13:02 GMT -7
Used tp in a coffee can with rubbing alcohol lots of time when hunting. Not sure tp on its own will work. Considering my current situation I'll have to sit back and watch and see if anything unfolds.
Jimmy
|
|
|
|
Post by offtrail on Jan 8, 2017 10:13:02 GMT -7
If no takers...no problem i'll post my results...it's all good. One idea i had was to spray the outside of the empty roll with flame retardant so it wont burn. Then poke holes in the roll or tube so i can have a controlled burn with one end opened. Not going to say what i'm using to stuff the roll with...that's a secret
|
|
|
|
Post by woodyz on Jan 8, 2017 17:00:51 GMT -7
OK I made two different rolls to try out
If you can hold off on revealing your results until Tues night I will try mine on Tues when it is expected to dry out and be warm enough for me to spend enough time out side.
|
|
|
|
Post by offtrail on Jan 8, 2017 19:22:56 GMT -7
OK I made two different rolls to try out If you can hold off on revealing your results until Tues night I will try mine on Tues when it is expected to dry out and be warm enough for me to spend enough time out side. Take your time woodyz...no hurry, i just went outside to do a test burn and very pleased with the results. Now i just need to dig out some of my packed away gear that I need before I do another test burn. This will take a while Woodyz so no need to hurry...good luck! |
|
|
|
Post by woodyz on Jan 9, 2017 15:42:13 GMT -7
OK, here is my process and some pictures
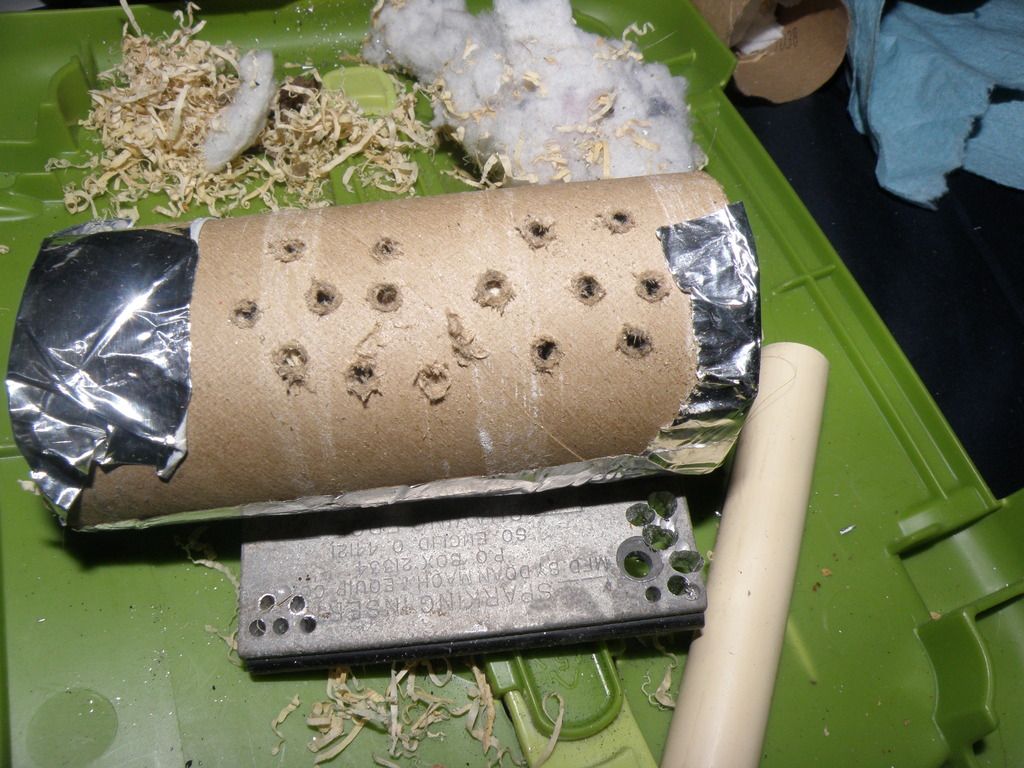
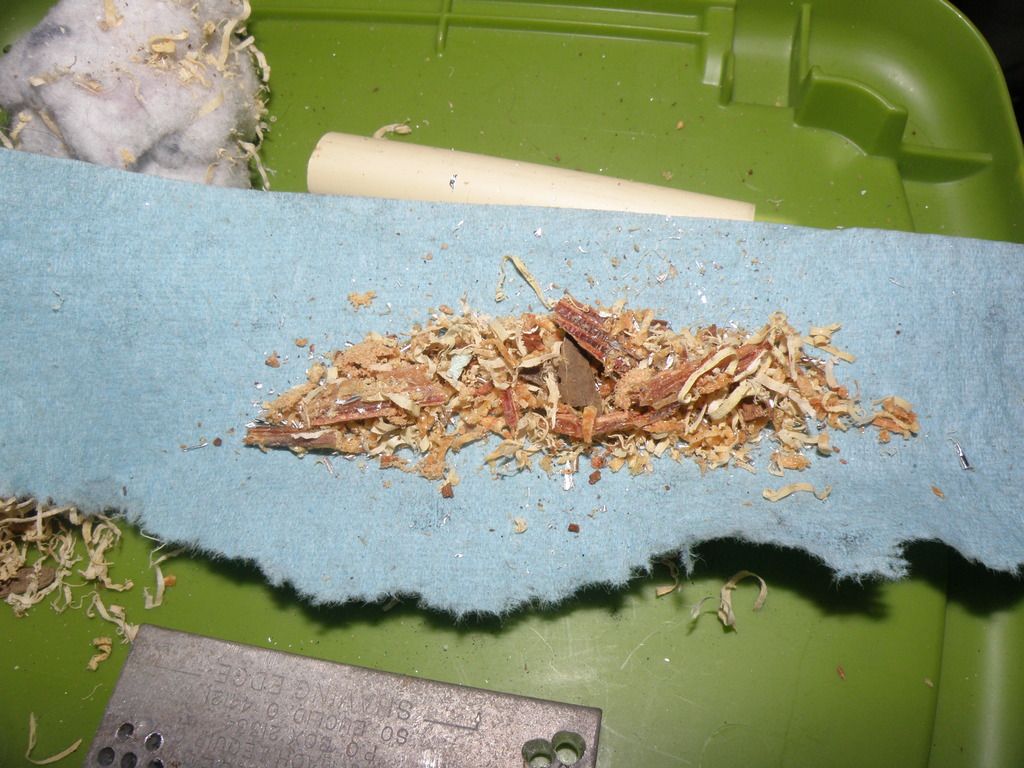
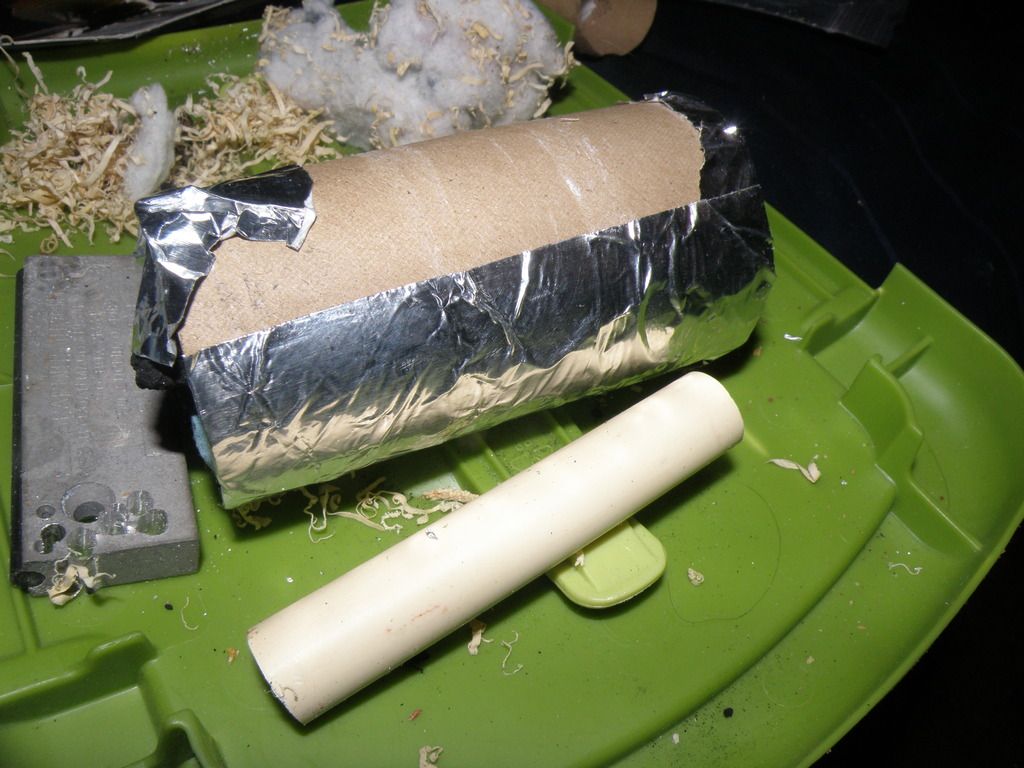
First I got a good sticky but hard piece of fat wood, I drilled 1/8” holes through it to get small chips and shavings
Second I drilled 1/8” holes in a bar of hard magnesium for the same chips and shavings
I got some good wood shavings/sawdust
I got some charcoal without accelerate
I got some dryer lint
I got a thin solid piece of fat wood for the center
So I started with a paper towel wrapped around a core of the thin fatwood stick surrounded with the fat wood and magnesium mix. Then I placed charcoal pieces and saw dust strips intermittently around the core. Plan is for the center to burn hot and fast, sitting charcoal on fire and creating air flow in the burnt center.
Only the outside bottom 2/3 and one end of the tube is wrapped in metal duct tape. The other end of the tube is only covered at the top for air.
Hoping the top untapped tube burns forming a trough the charcoal will burn in for a while. To aid in that I made some holes in the bare tube.
I used a little dryer lint to pack around the open end and kind of hold stuff in at the bottom
The second the tube is the same. But only strips of fatwood wrapped in paper towel to catch the charcoal on the top half. No drill pieces, no magnesium.
it was 34 degrees, sunny and no wind.
First tube with drilled bits of fatwood and magnesium was a bust. One it was wrapped to tight and could not get enough air to stay lit. 2 the paper towel around the fat wood kept it from catching until the magnesium and drilled bits caught then it burned up in about 5 minutes. A few of the pieces of charcoal had white ends and holding the tube in my hands (the metal tape on it) I was able to keep my hands warm for about 10 minutes until the charcoal went out.
The second had an air flow issue as well, took about 5 minutes to get on fire and I had to pull an end of a piece of fat wood out to get it to light. Again I think wrapping it in the paper towel was wrong.
Once the fat wood caught it was hot enough it started the charcoal before it burned out. But the burning fat wood was like an oil lamp with the wick wrong, it smoked heavy and black.
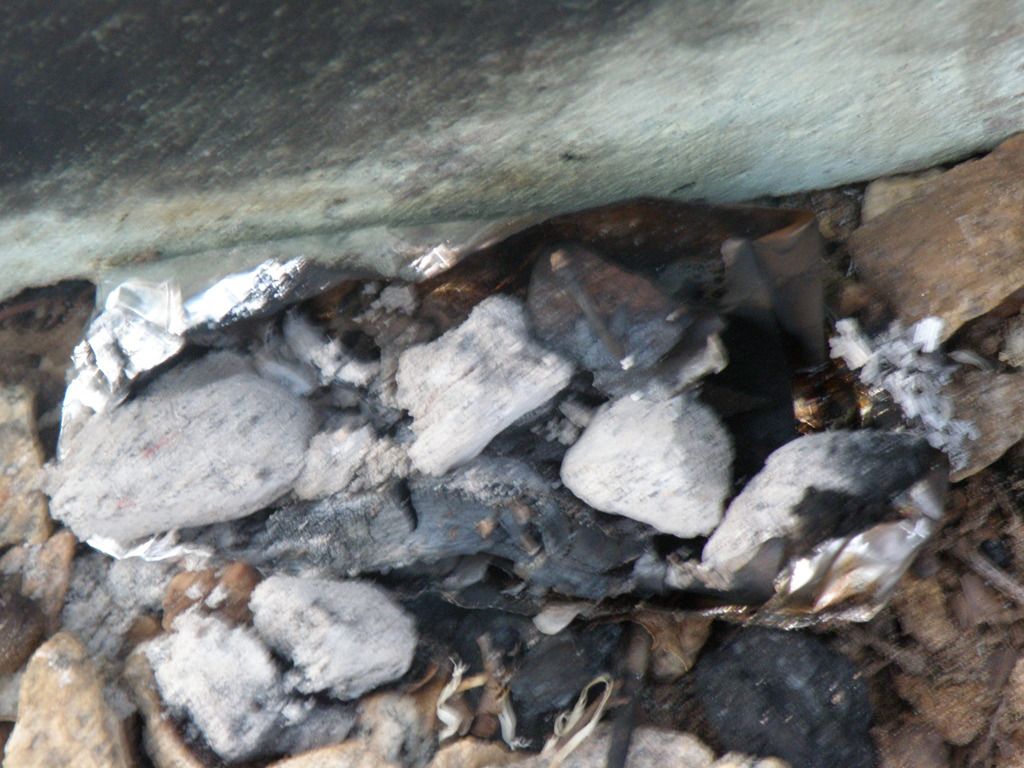
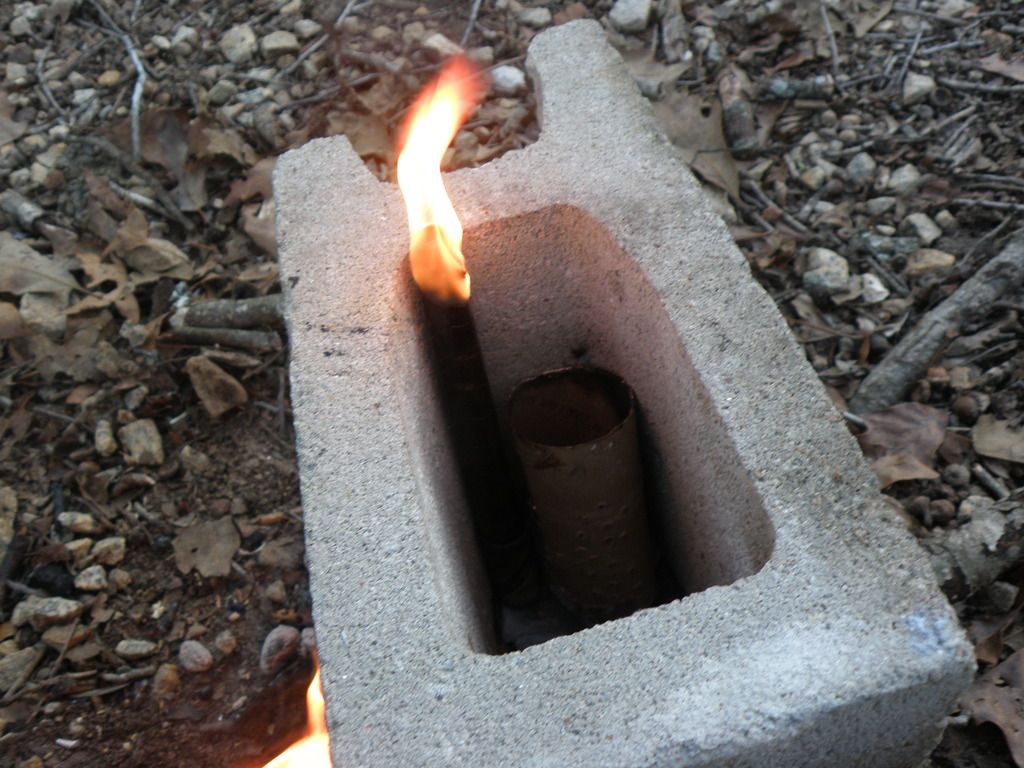
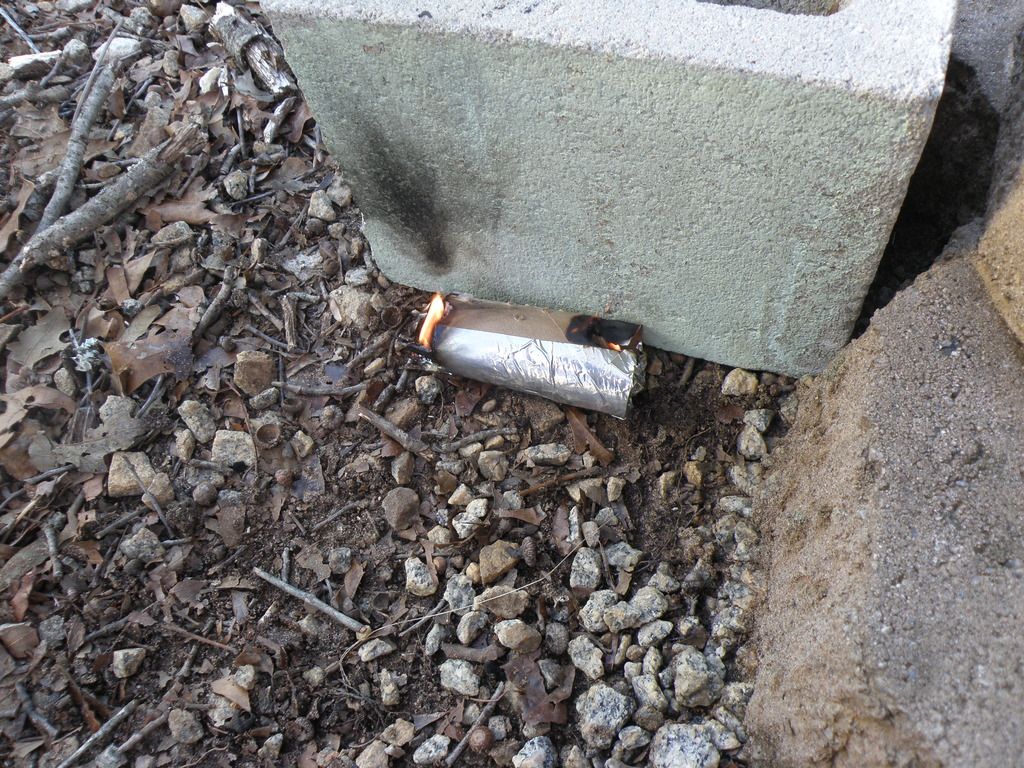
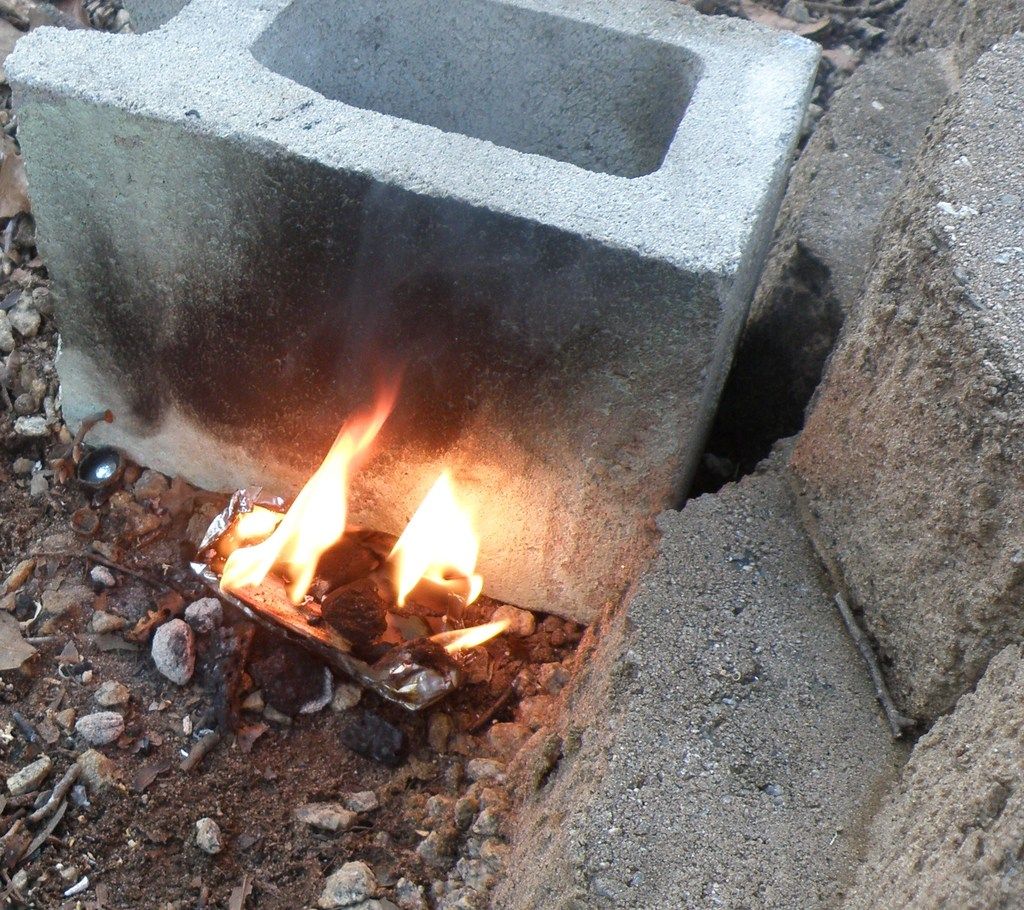
Once the fat wood set the top of the tube on fire and opened up the air flow the charcoal caught good and it gave off good heat for 1 hr 20 minutes. the tube created a trough like I hoped. The next to last pic is after 40 minutes, last pic is at 2 hours. I threw a little gravel around the bottom to keep the charcoal from spreading out.
would be good for getting/keeping hands warm and with a better/taller reflector may even keep a body warm for an hour or so with just a tp tube of fuel.
i will try and get photobucket to do pics
|
|
|
|
Post by woodyz on Jan 9, 2017 18:39:00 GMT -7
|
|
|
|
Post by woodyz on Jan 10, 2017 10:21:17 GMT -7
So I think the tape and charcoal worked well, it was those with hickory chips so it was denser and none was a full piece due to space
I could take the fat wood smoking if I had to and it got hot enough to get the charcoal started
but if I was going to use it to get warm I would want it to work faster
I think if I cut a slot in the top of the tube instead of holes it would draw more air and burn out the top faster
I could put a piece of masking tape on over the slot for carrying around and pull it off to use
Using fat wood strips as the bottom layer, maybe some saw dust curls for some airflow between them but no paper towel wrap, I think the whole thing was packed to tight to get started good, yet packing the charcoal tight was what helped it last longer
the metal tape worked as planed to create a tray to hold the charcoal after the top of the tube burned away so that worked well
but taping up the ends cut the air flow
I think I will try taping the ends but punching holes in them, again I could cover with removable tape to carry
getting it to burn faster will probably result in shorter burn time, but I had heat for 2 hrs so getting heat for an hour would be more than enough I think
waiting to see what off trail came up with I know he will have some good input
|
|
|
|
Post by offtrail on Jan 10, 2017 11:37:43 GMT -7
Excellent job woodyz and yes i have been working on this but can't give out all my secrets. But your right about having a balance of burning material plus the right amount of air flow. To much air flow and it's going to burn up fast. Not enough air flow and the thing will just smoke. Can't forget about the material used to pack the tube...quick burning or slow burning material or a chine reaction like you did woodyz with the charcoal...that my friend was good thinking. Thanks for the photos...good job!
|
|
|
|
Post by offtrail on Jan 10, 2017 11:49:03 GMT -7
It's like a recipe...a touch of this a dash of that,balance out the air flow, let it set and harden...light...boom!!!...back to the drawing board :-)
|
|
|
|
Post by offtrail on Jan 13, 2017 19:52:10 GMT -7
Ok got around to two test burns today, first one went great, only problem is the camera didn't record. Went for a second burn, this time i packed the TP tube more then the first burn and it went out less then halfway through...again the camera turned off so no video. I do have photos of the TP tube...i'll try to load later...still working on it...These are the photos i took right before the first and second test burn...now i need more empty rolls of TP
|
|
Deleted
Deleted Member
Posts: 0
|
Post by Deleted on Feb 23, 2017 9:56:40 GMT -7
i just tried 4 diff magnifying glasses on some pencil shavings..got smoke from only one of them..but im thinking that,i do need to wait untill there's less wind.or use something to block the wind at least somewhat..on acount it was blowing things around a bit..
|
|
|
|
Post by offtrail on Feb 26, 2017 20:02:29 GMT -7
i just tried 4 diff magnifying glasses on some pencil shavings..got smoke from only one of them..but im thinking that,i do need to wait untill there's less wind.or use something to block the wind at least somewhat..on acount it was blowing things around a bit.. Are you on the right post? Anyhow about the magnify glass and starting a fire...your doing it the hard way. If your waiting for the shavings to burst into flames, you could be waiting a long time. It's best to use the magnifying glass to get a coal like in charcloth, mullein pith or punkwood. Once you get the coal going drop it in a tinder bundle then blow or fan the bundle until it flames up. That's the bast way to use a magnifying glass to start a fire. |
|

