Post by orly152 on Jun 6, 2012 3:04:16 GMT -7
www.backwoodshome.com/articles2/easterly101.html
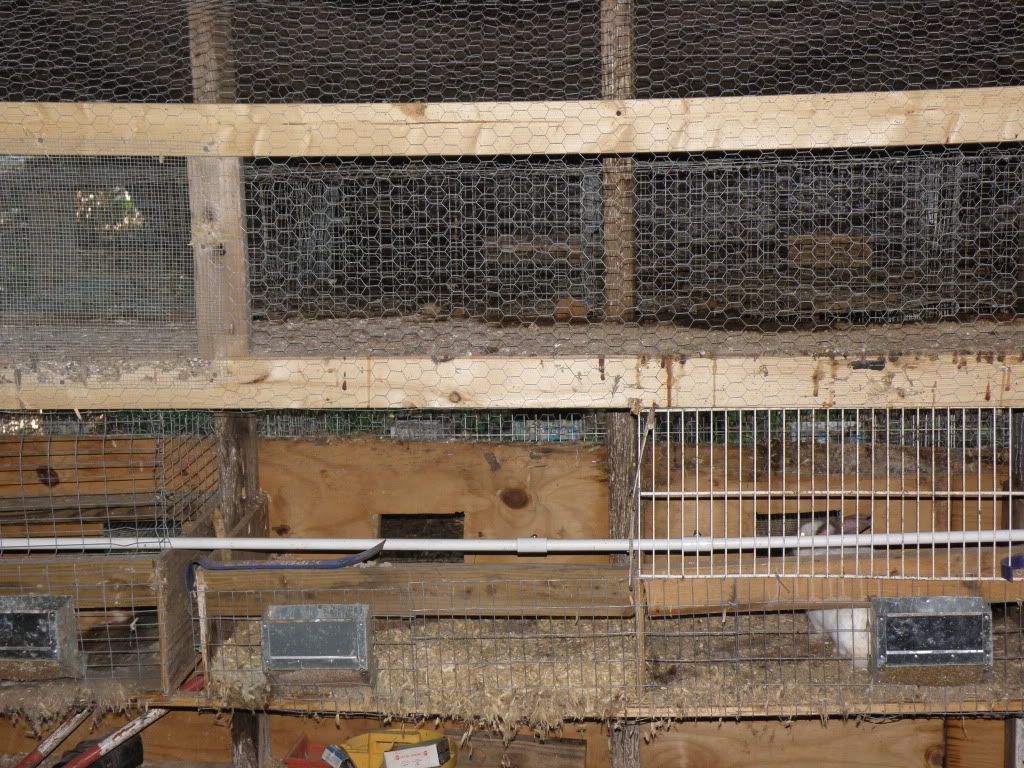
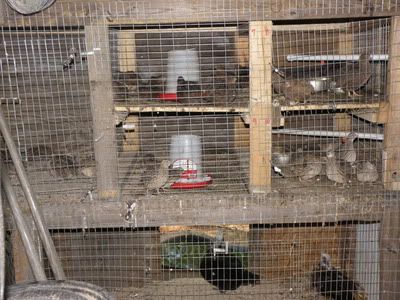
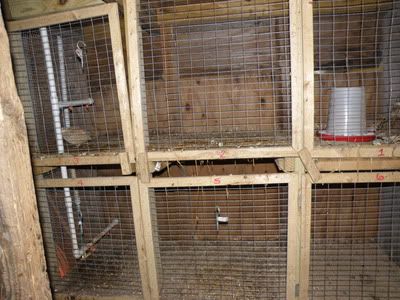
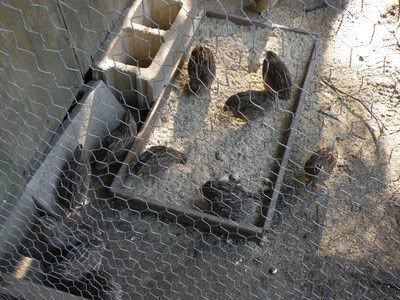
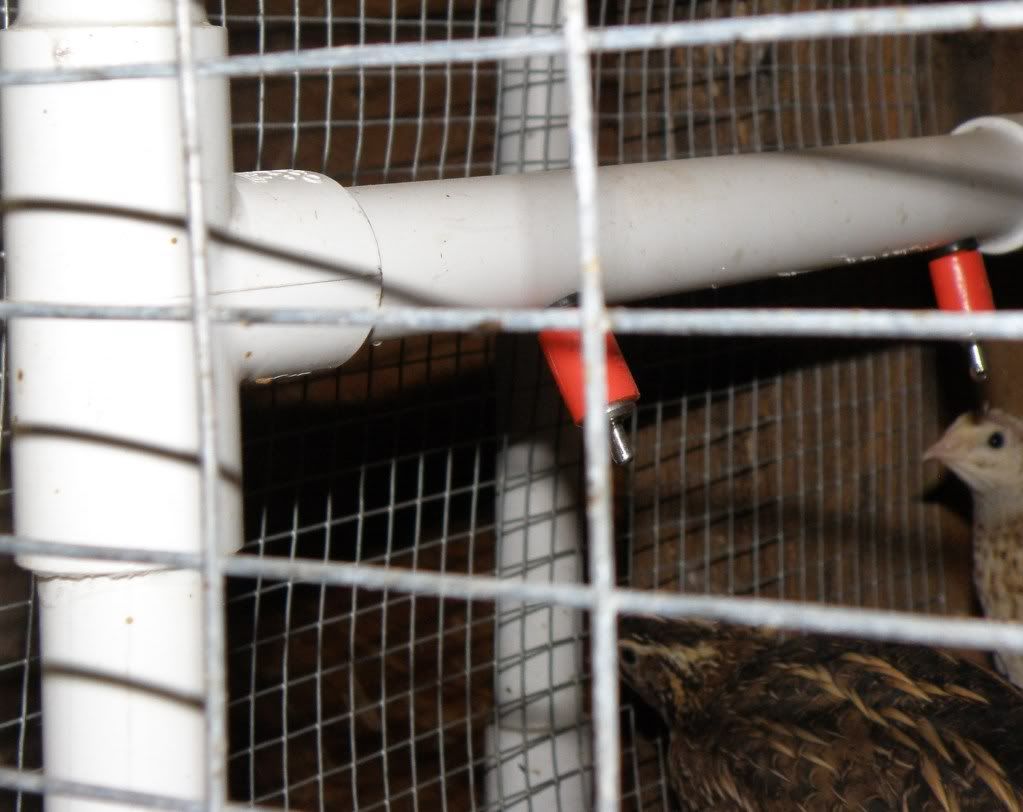
Raising quail is inexpensive, easy, provides very healthy low-fat white meat, and supplies the fertilizer you need for your home garden. The moderate start-up costs for raising quail are well worth it. A simple 8x8-foot open-sided pole building is fine to start with. You can also use an empty corner in an existing outbuilding. Wall in the upper half to keep strong winter winds away. Sturdy wire should be applied over the bottom half to help keep pets and predators at bay. There are a lot of wild critters, including snakes, that like to snack on quail and their tasty eggs. At eye level on each side of the building, hang a 30x30x14'' grow-off pen built with 1/2"x1'' mesh wire. At the end of the building at waist height, construct a simple frame to hold a brooder, breeder pen, and incubator for the quail. Keeping the birds off the ground helps reduce the chance of parasite infestation or disease. It also makes cleaning up after the birds quicker and easier. You are almost ready to begin production.
A source for chicks or hatching eggs might be your local feed store. If not, there are several mail order companies that can provide eggs, chicks, equipment, and the supplies you need. The Japanese or Cortunix quail are the fastest growing and reproducing birds. After just 16 days in the incubator, your initial egg purchase should provide at least a 50-percent hatch rate. Feed the baby birds a game bird starter mix for the first four weeks and a game bird grower mix for the next two weeks. For a small operation, select the best nine females and three males from the hatchlings as breeders and move them to the breeding pen. The remaining hatchlings are now old enough to butcher for the dining table. Maintain a three-to-one female-to-male breeder ratio for the best egg fertility. At this age, the breeders can start laying eggs. Begin feeding them a game bird breeder mix that contains the higher calcium needed for healthy egg shell production. Keep the breeders under 16 hours of light daily, and they will begin to lay eggs. Maintaining the same number of hours under lights will keep your Cortunix quail laying eggs throughout the year.
Under prime conditions, each female bird will lay about 300 eggs each year. When your breeders are laying eggs consistently, collect hatching eggs daily. Keep the eggs in a cool dark place until they are ready for the incubator. Collect eggs for 10 consecutive days, then set the batch of eggs in the incubator at 99-1/2° F. Maintain humidity levels identified with your incubator instructions. Eggs should always be kept pointy end down and need to be turned twice daily to keep the yolk centered inside the eggshell. You can do this manually or with the use of an automatic turner. Once hatched, transfer the chicks to a pre-warmed 100° F brooder. Each week, drop the temperature in the brooder by five degrees. At four weeks old, the young quail can be moved from the brooder to one of the grow-off pens. At six weeks old, the birds are ready to be processed for the dinner table. The eggs, while small, are also considered a delicacy.
Quail poop is like brown gold for your garden. It’s low on odor and isn’t very messy to deal with. Shovel up your excess quail manure each week and move it to a garden manure bin to age until it breaks down before using it on plants. It is high in nitrogen, and when fresh, it can burn plants. In the heat of the summer, if the manure does emit much odor, a light covering of lime will eliminate it and sweeten the pile.
Low in fat and high in protein, the all-white-meat quail is served as a delicacy in many fine restaurants. You can enjoy dining on this nutritious bird from your own home-grown stock with surprisingly little effort. Quail eggs are also a delicious delicacy served in many professional kitchens. It takes about three Cortunix quail eggs to equal one small chicken egg.
An average six-ounce skinless quail contains about 123 calories, 40 percent of the recommended daily allowance (RDA) of protein, 50 percent niacin, 30 percent vitamin B6, and 28 percent of iron. The same bird has only 1.2 grams of saturated fat, 1.2 grams monounsaturated fat, 1.1 grams polyunsaturated fat, and 64 grams of cholesterol.
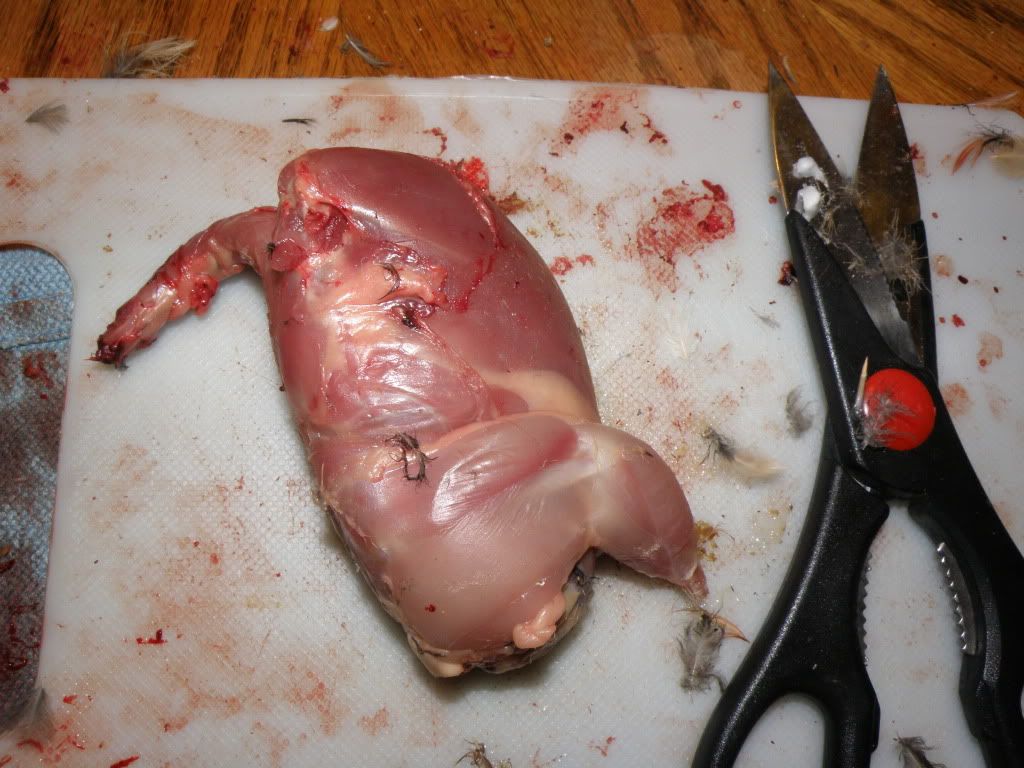
Whether you choose to pluck or skin your birds is a matter of personal preference. The skin has very little fat, unlike most commercial birds raised for maximum weight gain. When plucking, be careful not to tear the skin, as it is very thin. The skin does provide a suitable protective covering that prevents the meat from drying during cooking, so there are advantages to plucking. However, when cleaning a large number of birds for the home dining table, you might find it more efficient to skin the birds. It is far less time-consuming, and your fingers won’t be worn out after cleaning a flock.
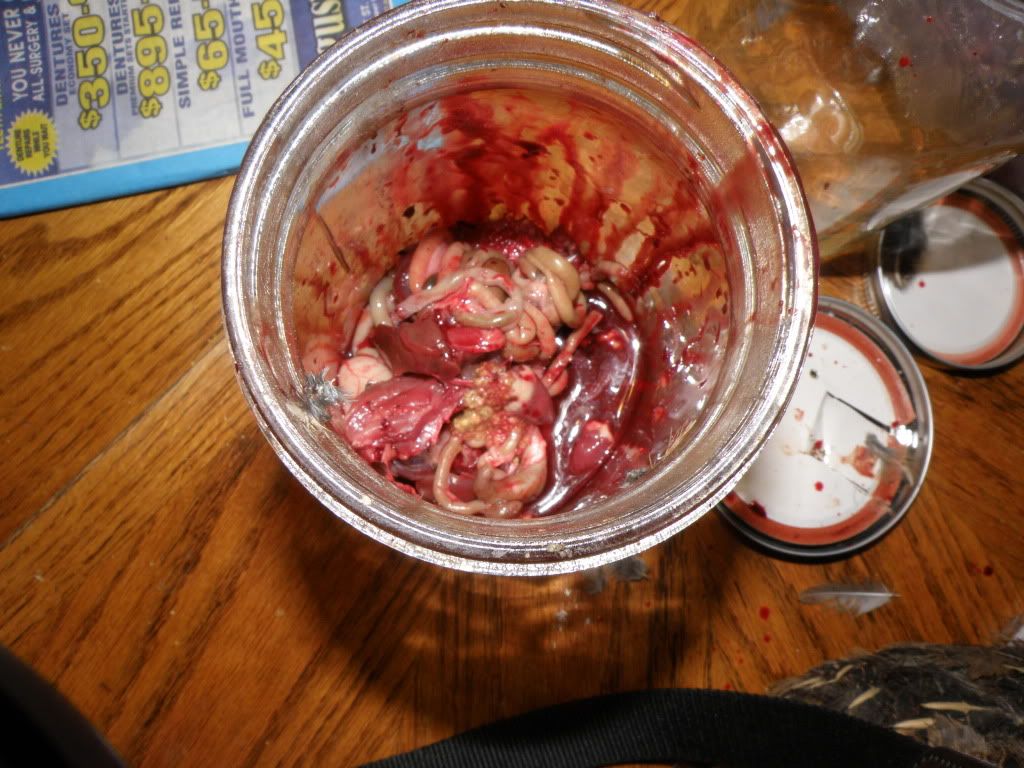
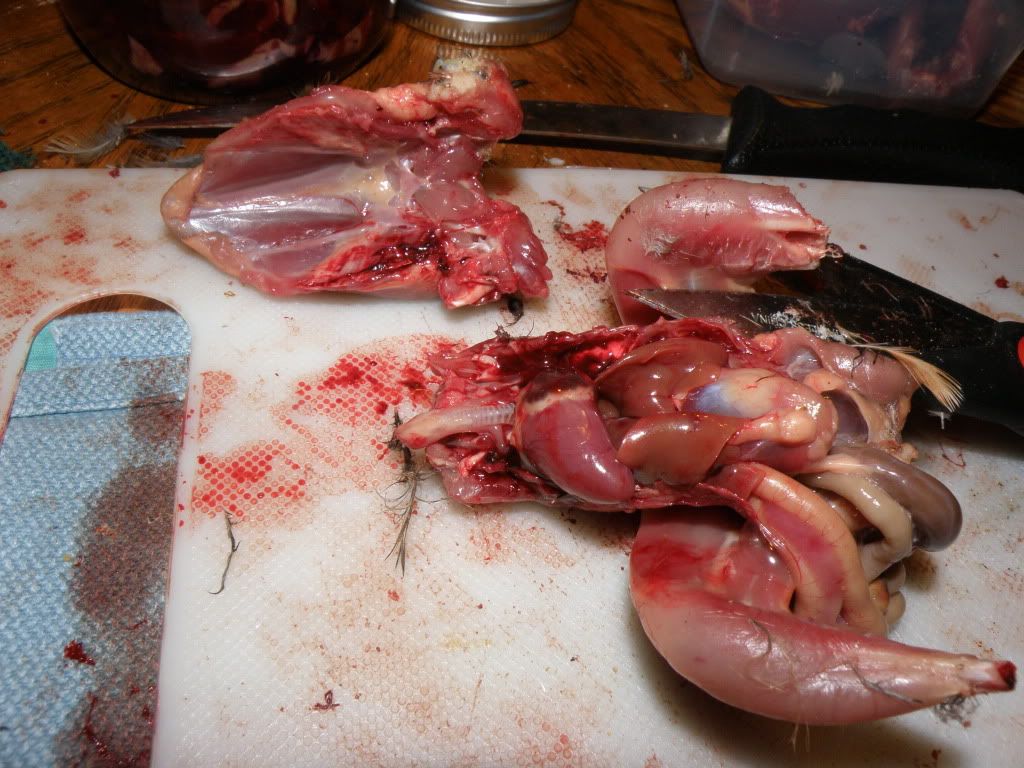
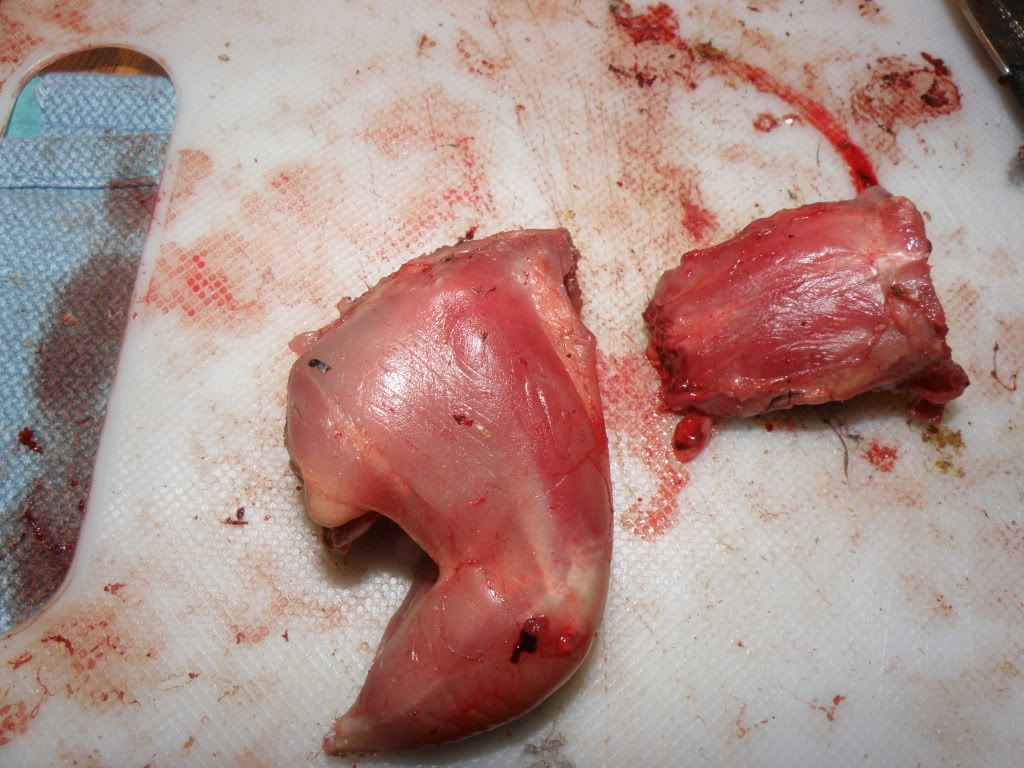
Euthanize your birds by quickly removing the head. Using a pair of kitchen shears, remove the wings and feet. You can then pluck the birds if you desire. To skin the birds, dunk them in a sink of cold water for a few minutes to cool the skins. This helps keep the feathers attached to the skin when it is removed and loosens the skin from the body. After the birds are plucked or the skin is removed, use your shears to split the bird lengthwise up the back. Remove the innards. If you have access to an outdoor hose, a blast of water into the body cavity will quickly remove any residual particles. The birds are now ready to be wrapped and frozen, or canned for future use.
Your first dozen breeder birds will provide you with hundreds of quail and thousands of eggs during the year. Replacing your breeder stock annually maintains peak production.
The cost of feed and supplies is minimal considering all the meat and eggs you get for your efforts.
Here is a video on a guy growing quail in small set-up
Woodyz, I would like to read and see pics how you have your set-up.


